本文介绍如何通过 Dockers Compose 安装 Grafana 和 Prometheus 在局域网中配合各类 exporter 为主机和诸多内部服务搭建监控。
Grafana docker-compose 部署 1 2 3 4 5 6 7 8 9 10 11 12 13 14 15 16 17 18 19 20 version: "1.0" services: grafana: image: grafana/grafana:9.5.6 container_name: grafana ports: - 3000 :3000 volumes: - grafana-storage:/var/lib/grafana networks: - my-network restart: unless-stopped volumes: grafana-storage: driver: local networks: my-network: external: true
问题记录 在通过 nginx 代理 Grafana 后,出现 "Origin not allowed" 报错信息 。
问题的原因参考官方社区:After update to 8.3.5: ‘Origin not allowed’ behind proxy
在 nginx 配置文件的 proxy 配置上方添加 proxy_set_header Host $http_host,然后重启 nginx 恢复正常。
1 2 3 4 location / { proxy_set_header Host $http_host; proxy_pass http://grafana:3000; }
Prometheus docker-compose 部署 1 2 3 4 5 6 7 8 9 10 11 12 13 14 15 16 17 18 19 20 21 version: "1.0" services: prometheus: image: bitnami/prometheus:2.45.0 container_name: prometheus ports: - 19090 :9090 volumes: - prometheus-data:/opt/bitnami/prometheus/data - $PWD/conf/prometheus.yml:/opt/bitnami/prometheus/conf/prometheus.yml networks: - my-network restart: unless-stopped volumes: prometheus-data: driver: local networks: my-network: external: true
配置文件 prometheus.yml 1 2 3 4 5 6 7 8 9 10 11 12 13 14 15 16 17 18 19 20 global: scrape_interval: 15s scrape_configs: - job_name: node static_configs: - targets: ['192.168.46.135:9100' ] - job_name: windows static_configs: - targets: ['192.168.46.1:9182' ] - job_name: redis-exporter static_configs: - targets: ['redis-exporter:9121' ] - job_name: mysqld-exporter static_configs: - targets: ['mysqld-exporter:9104' ]
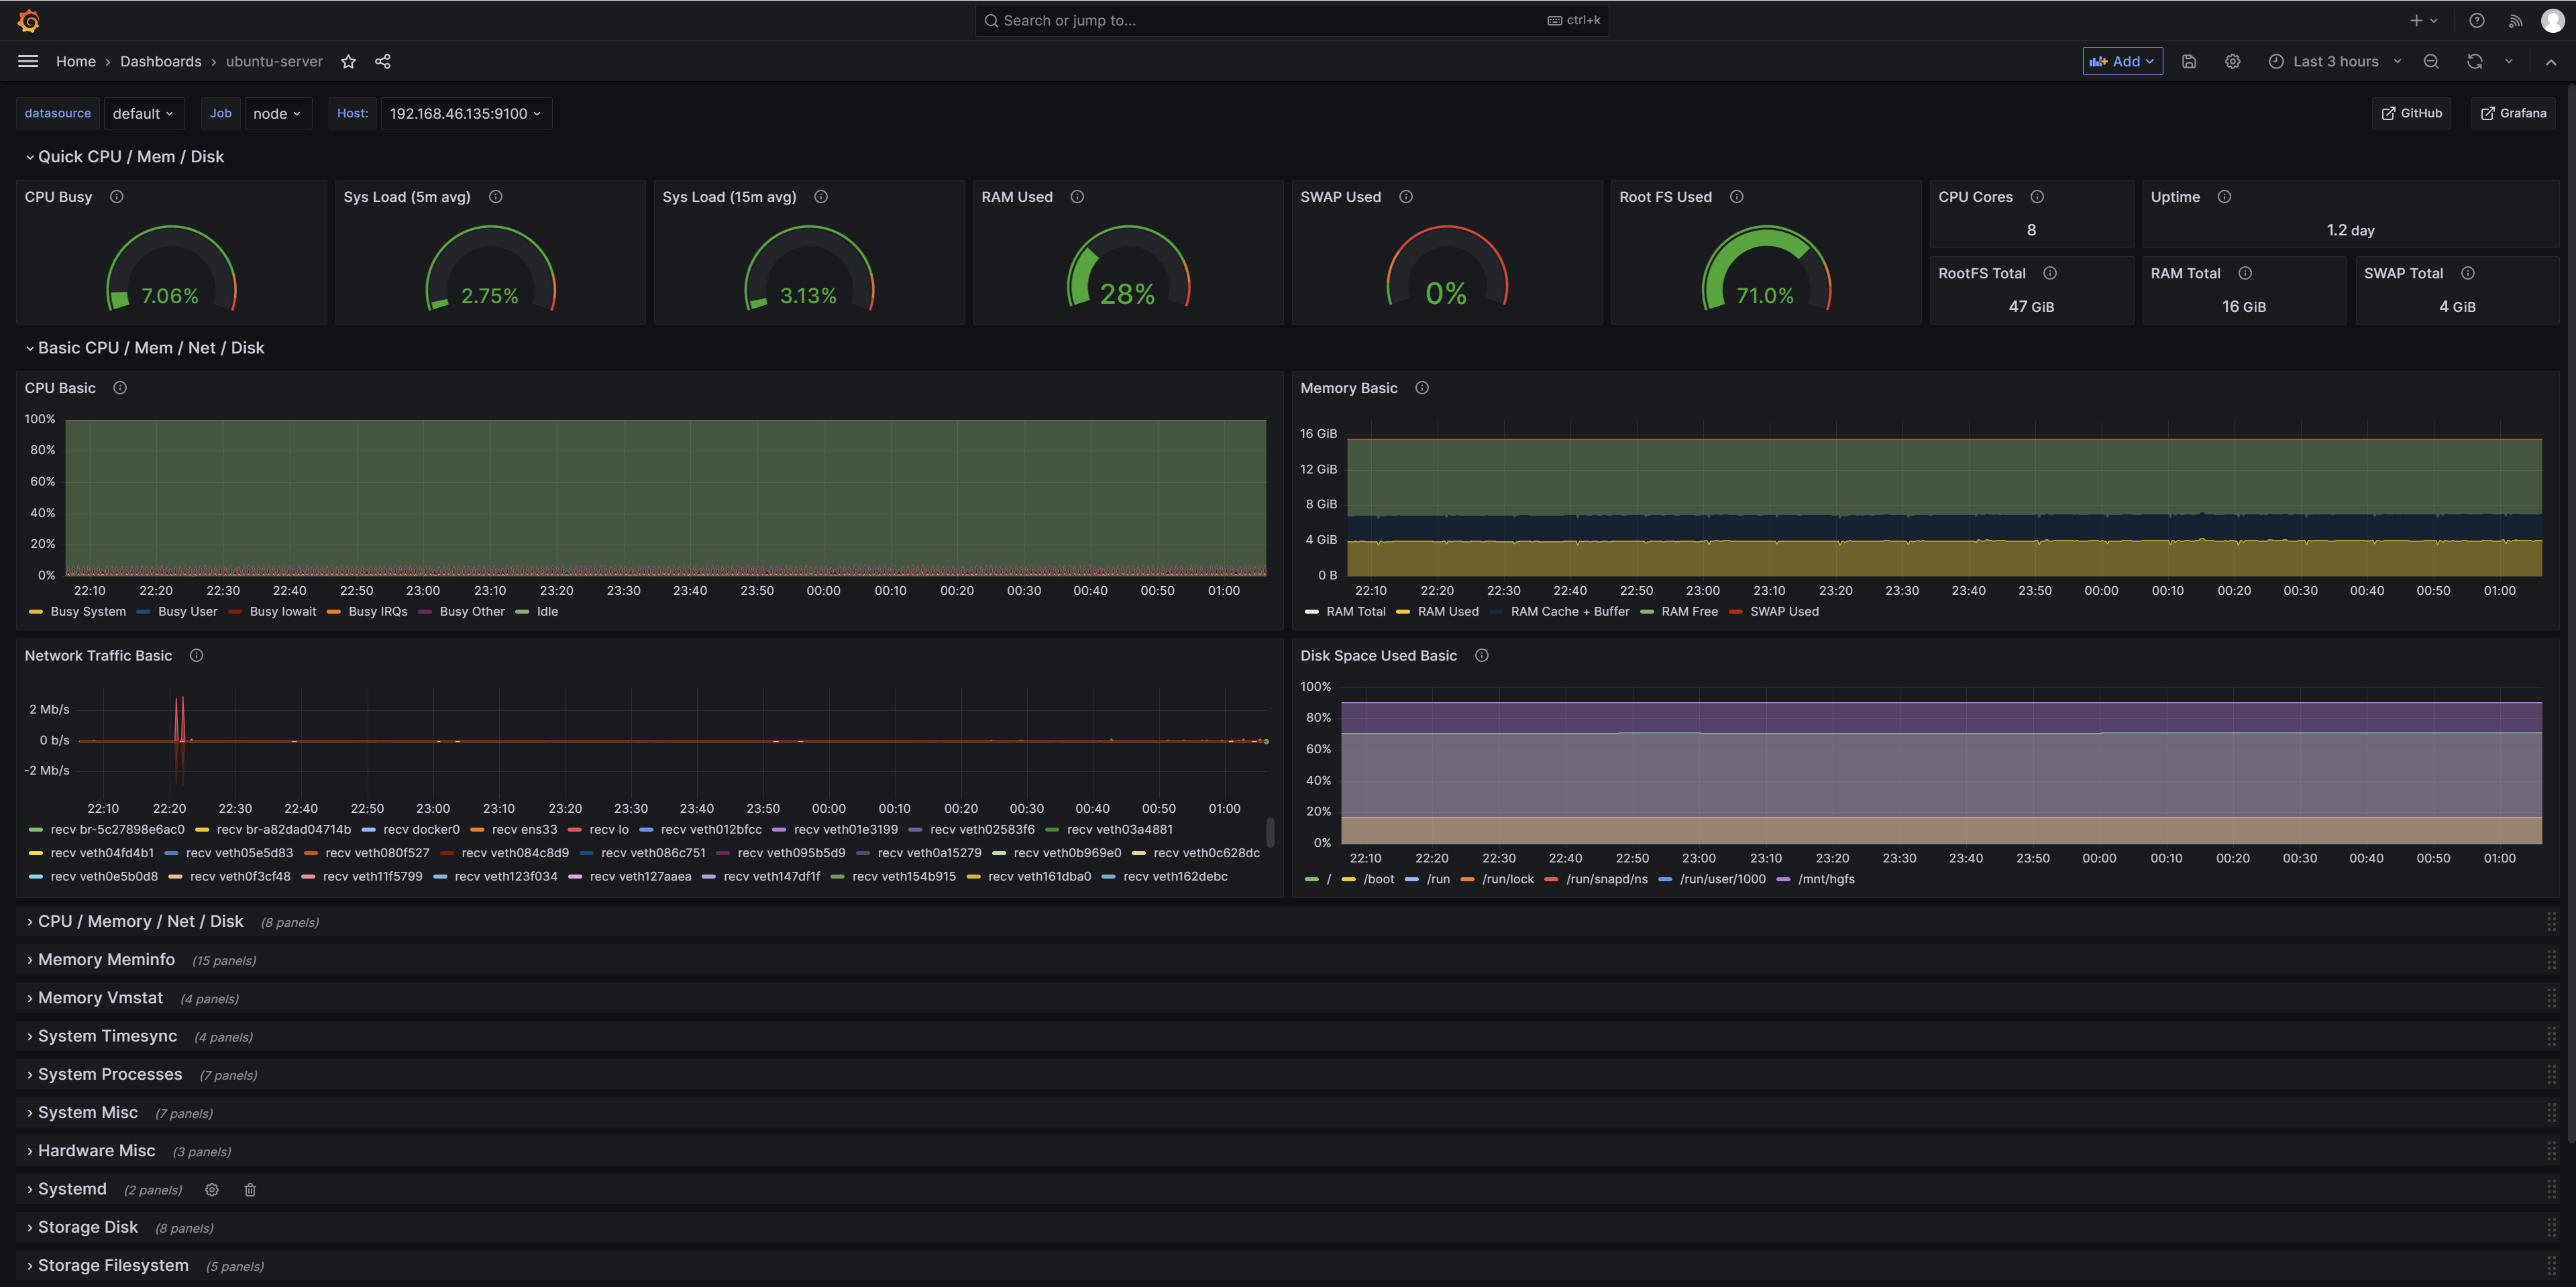
Ubuntu 监控 node_exporter node_exporter 被设计为监控主机系统,因为它需要访问主机系统,所以不推荐使用 Docker 容器部署。
步骤
下载解压得到 node_exporter 二进制可执行文件。
修改权限,chmod u+x node_exporter
./node_exporter 启动Prometheus 配置文件
1 2 3 4 5 6 7 global: scrape_interval: 15s scrape_configs: - job_name: node static_configs: - targets: ['localhost:9100' ]
设置 node_exporter 自启动
路径 /etc/systemd/system
创建 node_exporter.service
1 2 3 4 5 6 7 8 9 10 [Unit] Description=node_exporter After=network-online.target [Service] Restart=on-failure ExecStart=/opt/node_exporter [Install] WantedBy=multi-user.target
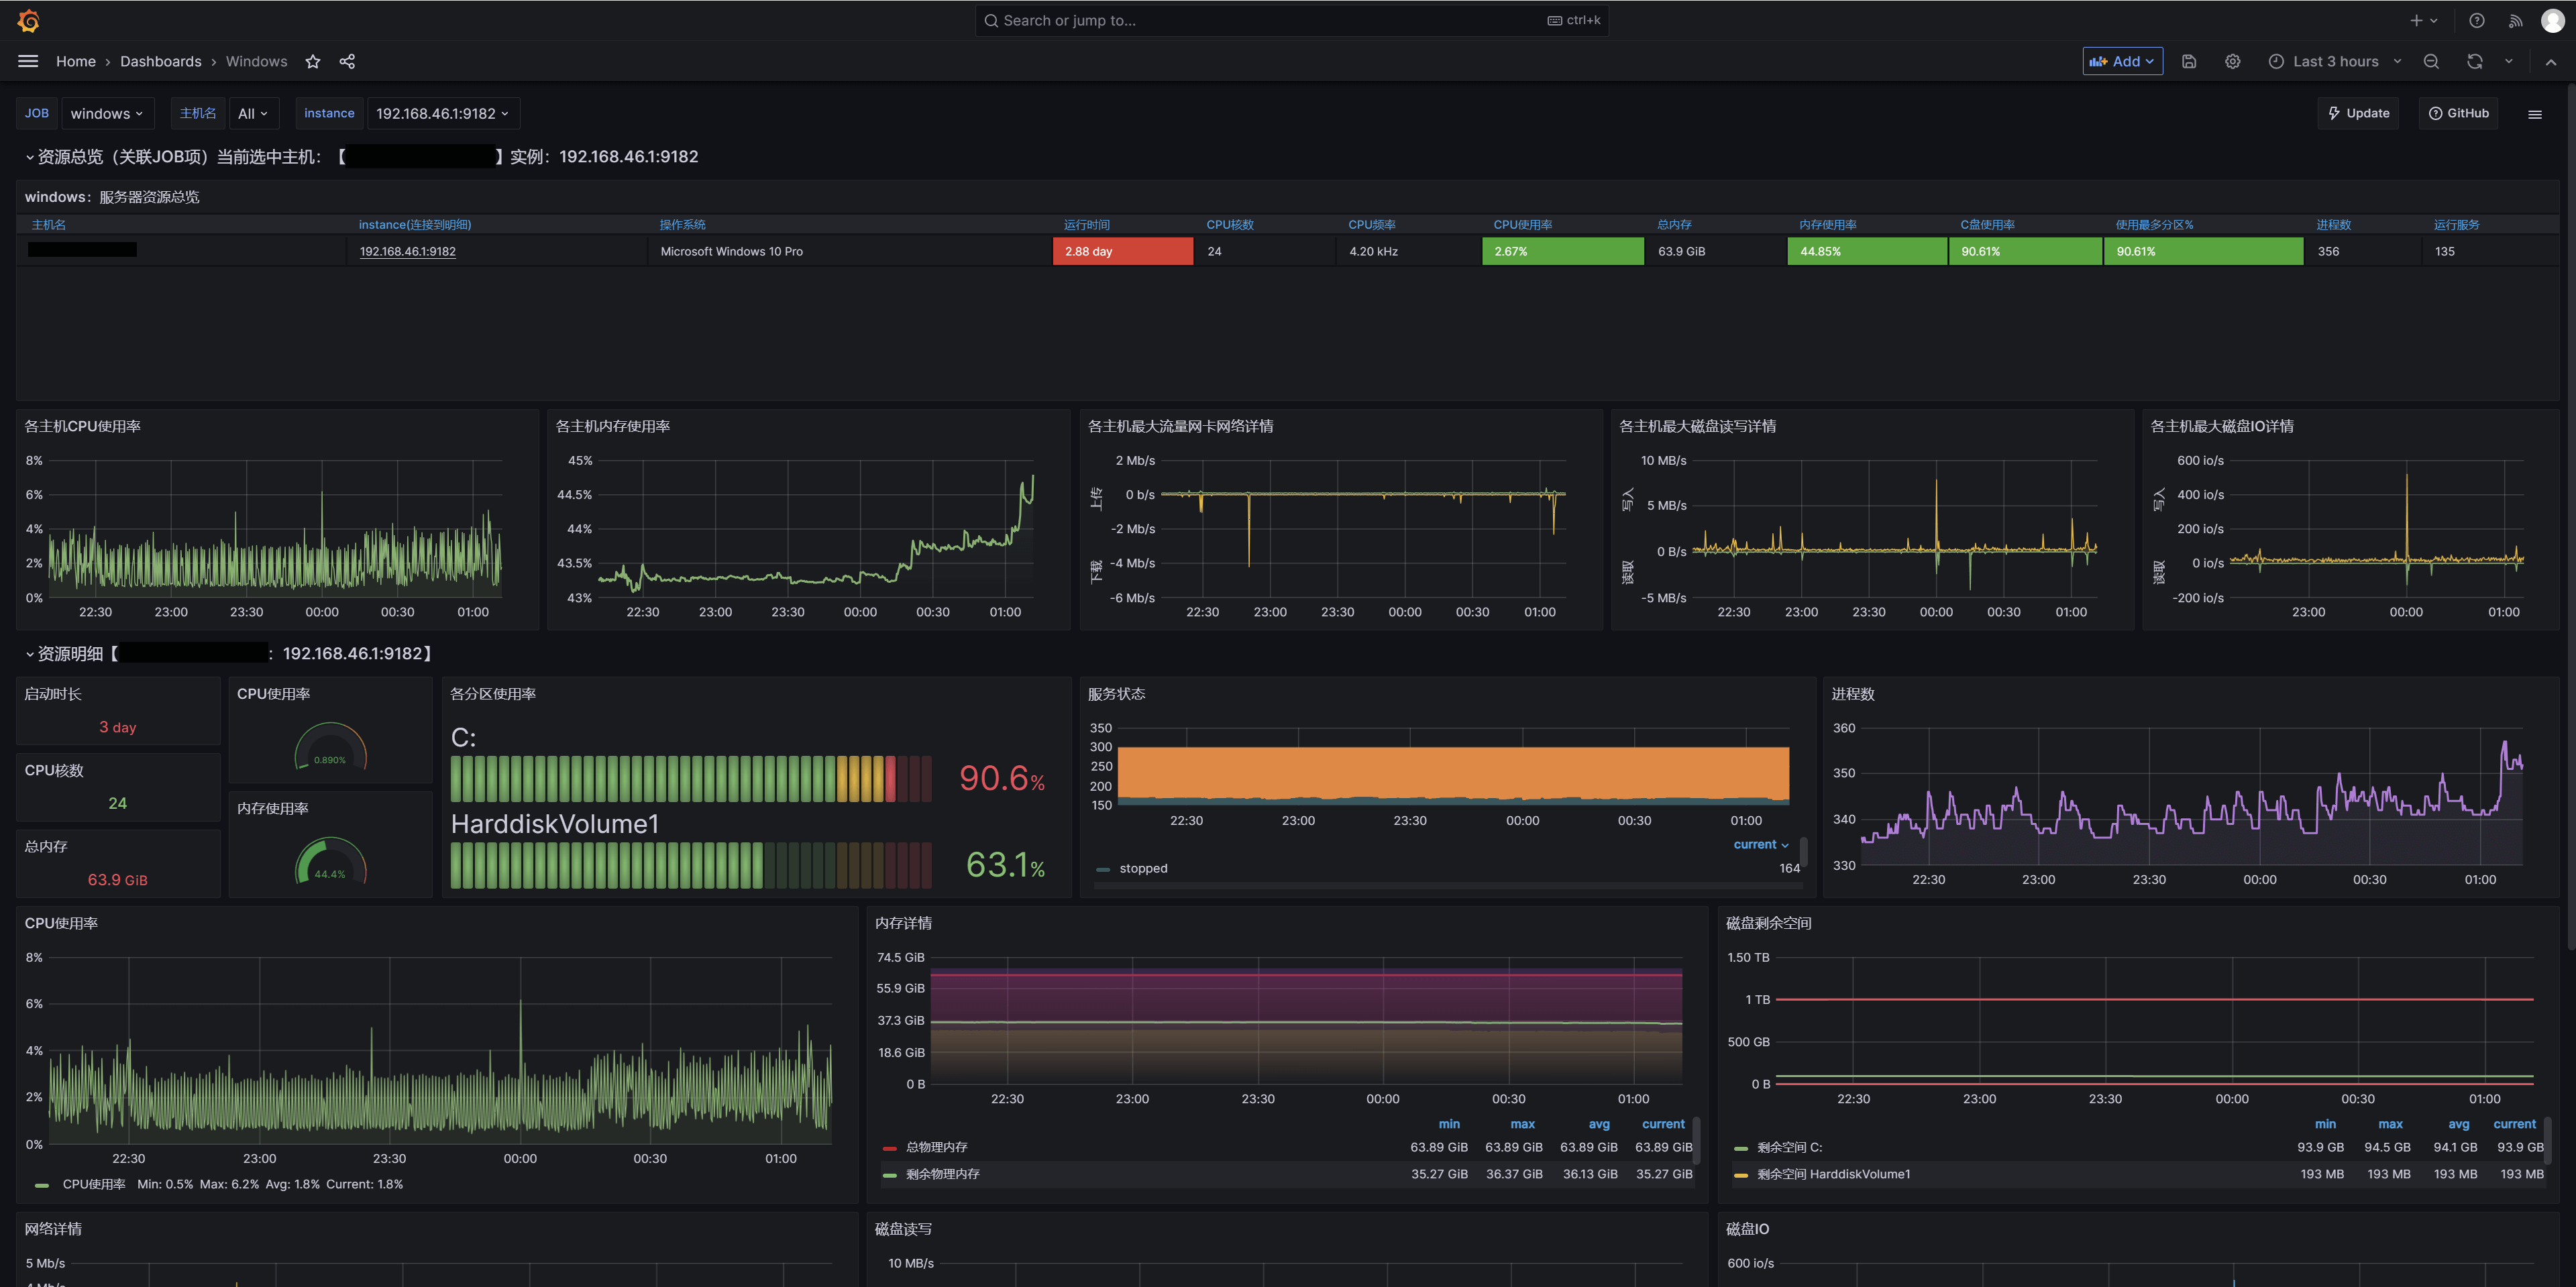
Windows 监控 windows_exporter
步骤
下载得到 windows_exporter-0.24.0-amd64.msi 安装程序。
以默认方式安装
Prometheus 配置文件
1 2 3 4 5 6 7 8 global: scrape_interval: 15s scrape_configs: - job_name: windows static_configs: - targets: ['192.168.46.1:9182' ]
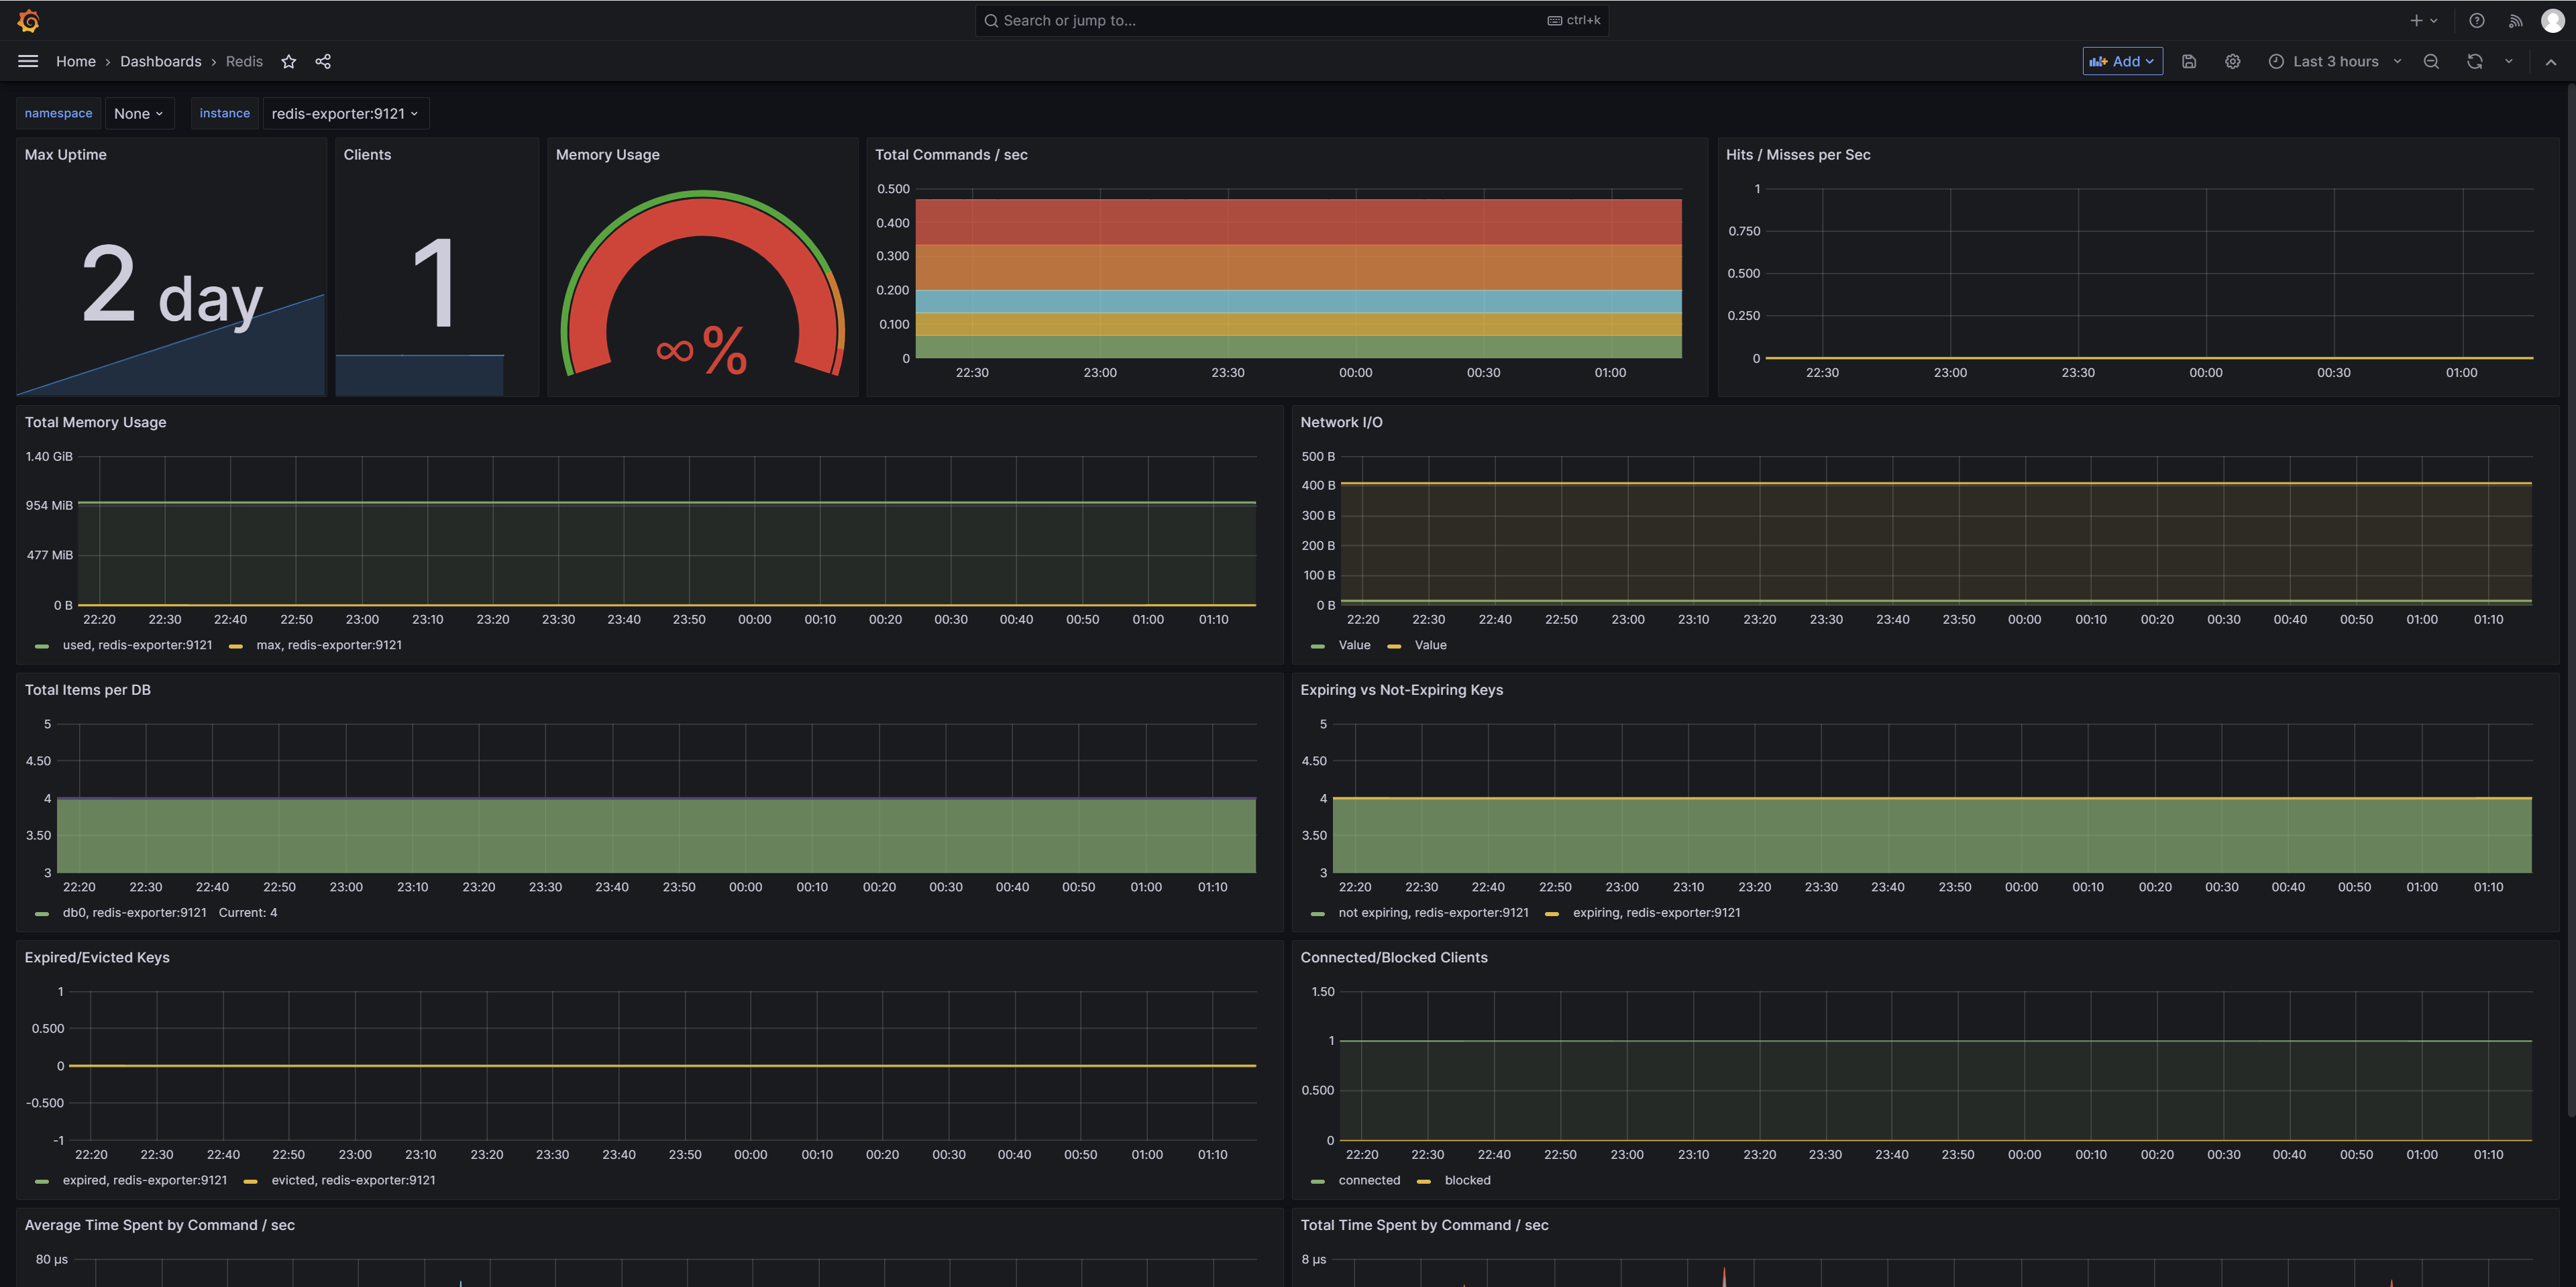
Redis 监控 redis_exporter
docker-compose 部署 使用 bitnami 提供的镜像代替官方镜像并没有特殊考量。使用环境变量 REDIS_ADDR 指定目标 Redis。
1 2 3 4 5 6 7 8 9 10 11 12 13 14 15 16 17 18 19 20 21 22 23 24 25 26 27 28 29 30 version: '2' services: redis: image: 'redis:4.0' container_name: redis ports: - 6379 :6379 volumes: - redis-data:/data networks: - my-network restart: unless-stopped redis-exporter: image: bitnami/redis-exporter:1.55.0 container_name: redis-exporter networks: - my-network restart: unless-stopped environment: - REDIS_ADDR=redis://redis:6379 depends_on: - redis volumes: redis-data: driver: local networks: my-network: external: true
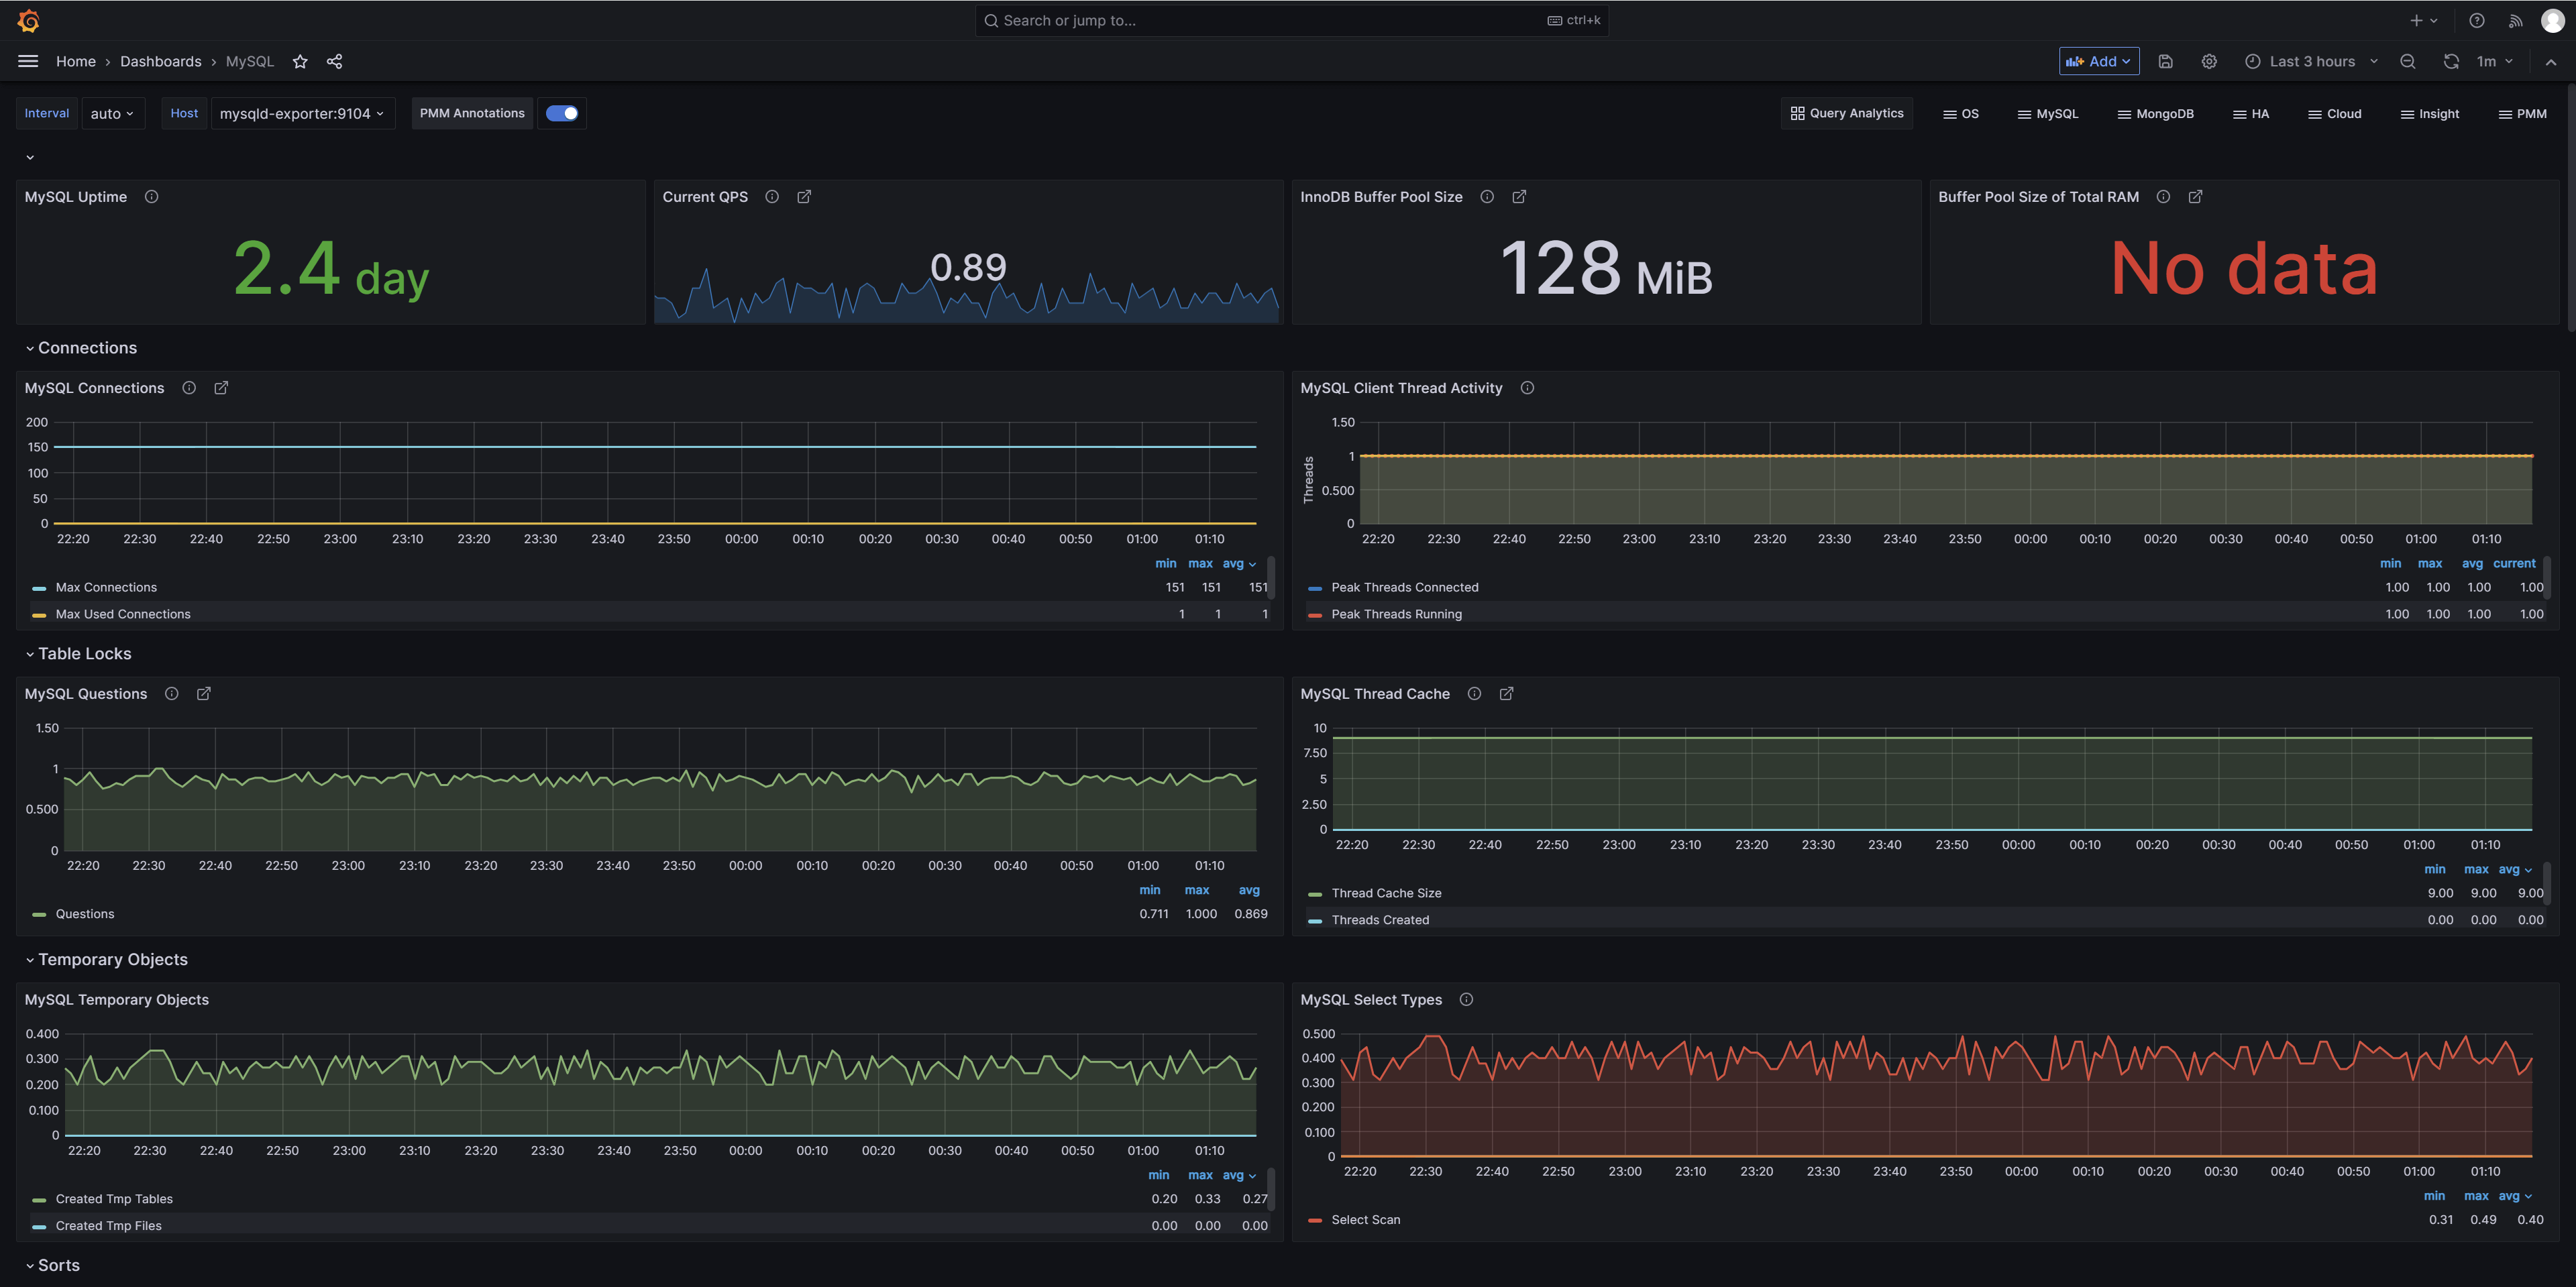
MySQL 监控 mysqld_exporter
docker-compose 部署
使用 volume 将配置文件 .my.cnf 挂载到容器中
使用 command 指定启动时的参数
**坑!!!**在文档中找配置文件的默认挂载路径或者如何配置启动时的配置文件,找了好久都没找到。搭配上后来的坑,直接迷失数小时。
1 2 3 4 5 6 7 8 9 10 11 12 13 14 15 16 17 18 19 20 21 22 23 24 25 26 27 28 29 30 31 32 33 34 35 version: '1.0' services: mysql_57: image: mysql:5.7 container_name: mysql_57 ports: - 13306 :3306 environment: - MYSQL_ROOT_PASSWORD=123456 - TZ=Asia/Shanghai volumes: - /opt/mysql_5.7/data:/var/lib/mysql - /opt/mysql_5.7/conf/my.cnf:/etc/my.cnf - ./sql:/docker-entrypoint-initdb.d networks: - my-network restart: unless-stopped mysqld-exporter: image: prom/mysqld-exporter:v0.15.0 container_name: mysqld-exporter ports: - 19104 :9104 volumes: - ./exporter/.my.cnf:/cfg/.my.cnf networks: - my-network restart: unless-stopped command: - --config.my-cnf=/cfg/.my.cnf depends_on: - mysql_57 networks: my-network: external: true
mysqld_exporter 配置文件 创建一个专用的 MySQL 用户。
1
2
CREATE USER 'exporter'@'localhost' IDENTIFIED BY 'XXXXXXXX' WITH MAX_USER_CONNECTIONS 3; GRANT PROCESS, REPLICATION CLIENT, SELECT ON *.* TO 'exporter'@'localhost';
1
2
3
4
5
[client] host=mysql_57 port=3306 user=exporter password=123456
**坑!!!**根据 0.15.0 CHANGE LOG ,不再支持使用环境变量 DATA_SOURCE_NAME 设置 MySQL 的信息。Docker 镜像的文档未及时更新。需使用 .my.cnf 或命令行参数进行配置。 Docker 镜像文档更新不及时
1 Error parsing host config" file=.my.cnf err="no configuration found
**坑!!!**带字符的复杂密码不能被正确解析。MySQL 使用了随机生成的复杂密码,怎么都连接不上。
1 caller=exporter.go:152 level=error msg="Error pinging mysqld" err="Error 1045 (28000): Access denied for user 'exporter'@'172.19.0.13' (using password: YES)"
数坑并发,搜遍全网,折腾半夜,痛不欲生。


